Gone are the days when implementing AI required a team of data scientists and a six-figure budget. In 2026, the MVO platform has made it possible for any small business owner to deploy a sophisticated AI voice agent in less time than it takes to eat lunch. This guide will walk you through the exact steps to go from zero to a live, appointment-booking AI receptionist in under 30 minutes.
Phase 1: Foundation (5 Minutes)
Step 1: Create Your Account
Start by heading to the MVO dashboard and signing up for your 14-day free trial. Once verified, you'll be prompted to enter your basic business details. Pro tip: Make sure to have your business logo handy, as it will be used for your web chat widget as well.
Step 2: API Keys and Connection
If you're using specific voice providers like ElevenLabs, you can easily connect your API keys in the 'Settings' tab. If not, don't worry—MVO provides high-quality default voices that work perfectly out of the box.
Phase 2: Agent Creation (10 Minutes)
Step 3: Define Your Agent's Persona
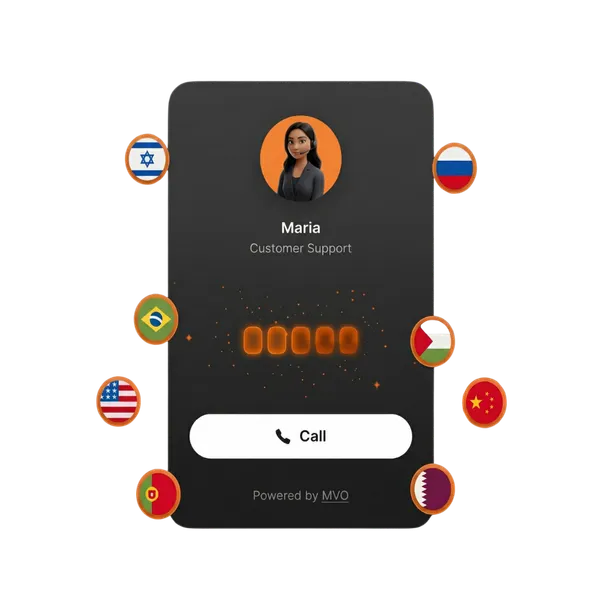
This is where the magic happens. Navigate to 'Create Agent' and give your new team member a name (e.g., "Sarah"). Choose a voice that matches your brand personality—do you want someone upbeat and energetic, or calm and professional?
Next, set your Greeting Script. This is the first thing your customers will hear.
Example: "Hi, thank you for calling Sunrise Dental. This is Sarah, your AI assistant. How can I help you today?"
Step 4: Upload Your Knowledge Base
Your agent is only as smart as the information you give it. Upload PDFs or plain text documents containing:
- Your service list and current pricing.
- Your physical address and parking information.
- Frequently asked questions (FAQs).
- Your cancellation policy.
The MVO AI will scan these documents instantly, allowing Sarah to answer complex questions about your business in seconds.
Phase 3: Deep Integration (10 Minutes)
Step 5: Connect Google Calendar
One of MVO's most powerful features is real-time appointment booking. Go to the 'Integrations' tab and click 'Connect Google Calendar'. Select the specific calendar you want Sarah to use. You can define "Booking Rules"—for example, only allow bookings between 9 AM and 5 PM, and ensure there's a 15-minute buffer between appointments.
Step 6: Deploy and Test
Click 'Test Call'. Enter your phone number, and Sarah will call you immediately. Try to "stump" her. Ask about your prices, directions, or try to book a slot that's already taken. If she handles everything correctly, you're ready to go live.
Phase 4: Optimization (5 Minutes)
Spend the final few minutes refining your agent's tone. If Sarah sounds too formal, adjust the "Temperature" setting in the advanced options. Once you're happy, hit 'Publish' and connect your MVO number to your business phone line.
"The secret to a great AI agent is a great knowledge base. Think of it like training a new employee—the more clear information you provide, the better they'll perform."
Conclusion
And that's it! In exactly 30 minutes, you've replaced your voicemail with a 24/7 intelligent receptionist. No coding required, no expensive hardware needed. You're now ready to focus on your work while Sarah handles the phones.
Ready to start the clock? Choose your plan here and get started.
Ready to automate your business calls?
Start your 14-day free trial today and never miss a lead again.
Get Started →